Monday, December 23, 2013
Fabric Canvas Picture Frame
For the Stampin' Up Christmas Party we had to come up with a gift to swap. Even though it was a Stampin' Up party, we didn't have to use only Stampin' Up products.
One Direction Birthday
My oldest daughter celebrated her 11th birthday and really wanted a One Direction birthday. Here are some pictures of the party decorations and some of the things the girls did.
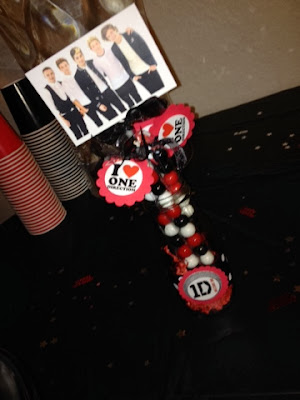
These were filled with gum ball sticks I made and I just put them on the table.
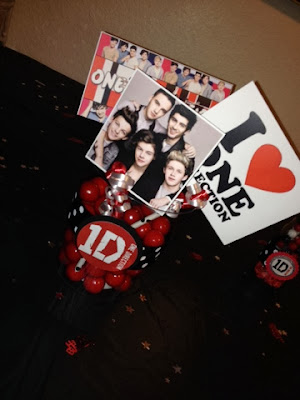
This was something I also put on the table. I just printed a bunch of pictures off the computer and put them on large lollipop sticks and put them in a jar with large gum balls.
Party favor bags that I filled with a bunch of One Direction stuff I found in the Target dollar bins.
This was her cake that a friend of mine made for her. We found the little figurines at target. They didn't have all 5 so we just got the three.
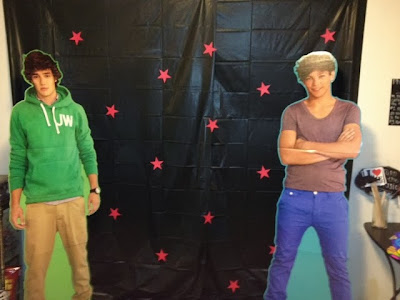
She wanted to do a photo booth so I just used a space on the wall to set up a little "booth" . I used black plastic table cloths and just stuck a bunch of paper stars I cut out with my Cricut, all over them. You can't see it but I marked the floor with some tape and made a box for where they can stand to make sure they were in the camera's shot. I just set the camera up on a tripod and put it on timer mode so they were able to take pictures themselves.
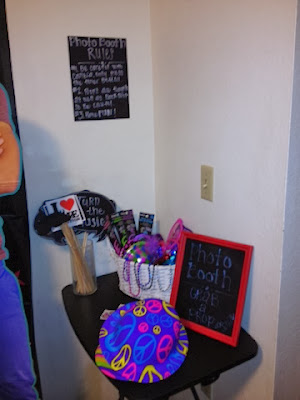
On the side of the "photo booth" I placed the props table. We found a bunch of really fun things at party city that were really inexpensive. I also made some talking bubble signs that I cut out using my Cricut. I just wrote different sayings on them and glued them to a wooden dowel. And of course I made some mustaches, also cut out using my Cricut. I also posted a list of some rules with using the camera and props.
I also found life size cardboard cut outs at toysrus. This was a great find. They were on clearance for $5 regular price $30. Yay!! I figured the girls could use them in the plot booth if they wanted.
These are a few pictures from the photo booth.
File Folder Gift Card Holder
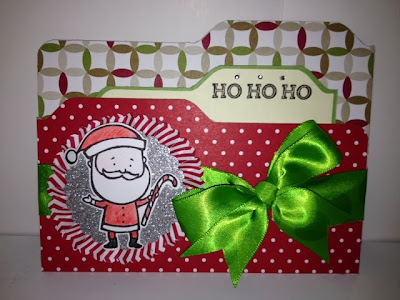
I went to a Stampin' Up team Christmas Party and everyone had to bring a make and take. I decided to bring a gift card holder using the file folder card look. I found the tutorial on YouTube I'll post the video at the bottom off this post.
Supplies:
Whisper White Card stock- 100730
Old Olive Card Stock- 100702
Very Vanilla Card Stock- 101650
Old Olive Card Stock- 100702
Very Vanilla Card Stock- 101650
Season Of Style Designer Paper- 132340
Color Me Christmas Stamp Set- 131742
Oh, Goodie! Stamp Set- 131886
Envelope Punch Board- 133774
Dimensionals- 104430
Snail Adhesive- 104332
Basic Rhinestone Jewel Accents- 119246
Others:
Glitter Paper
Green Satin Ribbon
Tim Holtz Rosette Die
Envelope Punch Board- 133774
Dimensionals- 104430
Snail Adhesive- 104332
Basic Rhinestone Jewel Accents- 119246
Others:
Glitter Paper
Green Satin Ribbon
Tim Holtz Rosette Die
Thank you Brianna for posting the great video tutorial!
Jingle Bell Boutique Craft Fair 2013
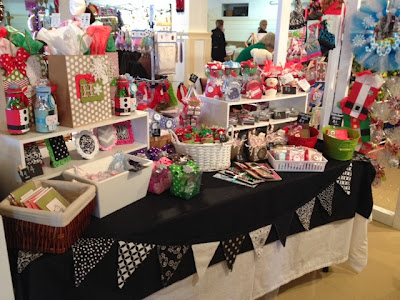
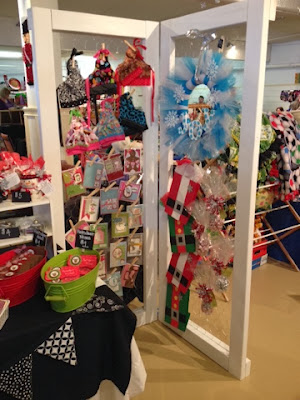
This December I participated in the Jingle Bell Boutique Craft Fair for the third year. This was my booth space.
This chicken wire screen I had my husband make. I found a tutorial on a blog from My Little Sunshine. It was really inexpensive and I was happy with the outcome.
Thursday, December 5, 2013
Elf On The Shelf Is Back!!
Look who's back?! It's Bilbo our Christmas Elf! This year Bilbo came and surprised the kids with a fun breakfast and he even brought a package all the way from the North Pole for the kids =)
Friday, November 29, 2013
Halloween!!
Here's a picture of the kids on Halloween. They were dressed up as Darla from Finding Nemo, a minion, and a clown from the Disney channels Jojo's Circus.
September's Swap
The month of September was a Thank You themed swap. So I made these little gift bags using the SU top note die and put together a little manicure set. The tag I put on the bag says "Mani" Thanks. In the bags I put a little nail clipper, pink nail polish, and a pink nail file. I wanted to find a small bottle of nail polish remover and add some cotton balls but they didn't have the color to go along with the "pink" theme I was going with.
August Swap Item
I made these broomstick popcorn bags for my swap item for the month of August. I found a cute tutorial on YouTube that I used. I attached the video tutorial bellow.
Wednesday, September 18, 2013
Halloween Hello Cards
Here are some cards I put together using the Halloween Hello stamp set.
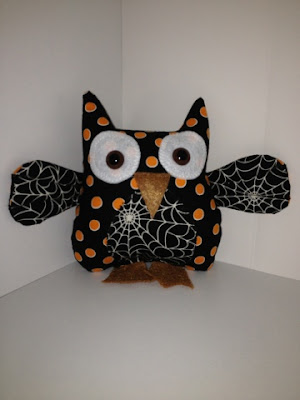
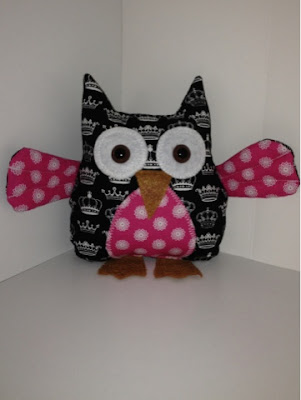
Yesterday I got some really adorable owls on the mail from my up line Shirley Pumpkin. Aren't these so cute!! They're $15 each plus shipping. You can see more of her cute creations and owls on her blog at: www.lookatmycutestuff.blogspot.com
Here's the Halloween owl. The webbed fabric glows in the dark!!
And here's one she made to match my craft corner. I LOVE the crowns!!!
Thursday, September 5, 2013
First Day Of School!!
I just wanted to write a quick post and share some of the pictures from the first day of school :)
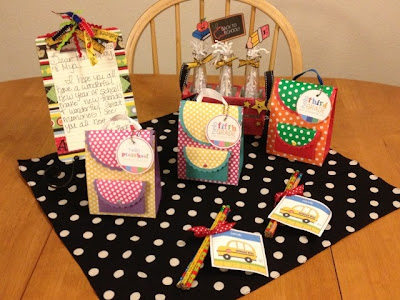
Here's the letter from the Back To School Fairy :)
I attached these signs to the kids chairs and my husband and I wrote a little message to each of them, wishing them a wonderful year. The signed is from the Lauren McKinsey school collection :)
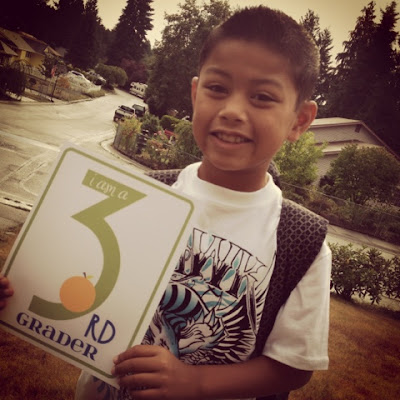
My son Jay-Tee who is starting the 3rd grade.
My daughter Kaleia who is starting 5th grade.
And my little one Mya who is starting her last year of Pre-K.
Mya doesn't start Preschool until the 23rd so I'll have to add her picture later.
Friday, August 23, 2013
Back To School!
It's almost that time! In a little over a week my kids will be starting another year of school (YAY!!). Every year I try and make the first day special for them. I start with a special breakfast and I decorate the dining room with back to school decorations. The back to school fairy even comes and brings the kids a special treat. Click HERE for some fun breakfast ideas you could do!
For their lunches, I try to make them cute and fun by labeling their food with cute little stickers or sayings and I add a special note to them. Click HERE for some fun lunch ideas!
When they come home from school, I give them an after school snack. Usually it's something healthy but on this day I give them a special treat. Most of the time it's cookies or cupcakes. Click HERE for snack ideas.
And for dinner they get to choose. Usually it's been fun pasta or pizza. Click HERE for some dinner ideas.
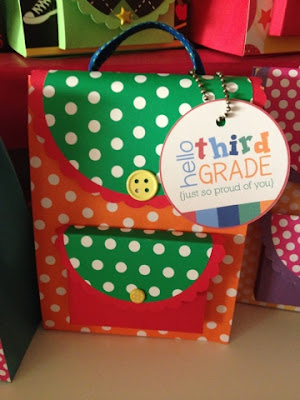
I found a cute tutorial for these backpacks on Inking Idaho's website. They're the perfect size to fill up with little goodies. These backpacks are filled with fun little erasers, backpack & lunch bag tags, hand sanitizer from Bath & Body that say Smart Cookie, and some fun candy. Here is the link to Inking Idaho's website for the backpacks. I loved them so much that I made my niece and nephews a backpack also.
I found another backpack tutorial that I tried and I liked but It was just a little too small for what I wanted to do with it. But here is the link to that free tutorial. It's at Sarah's Ink Spot Blog.
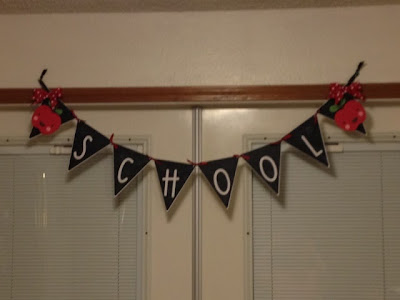
This is a banner that I made to hang in the dining room. I made this using the CTMH cricut cartridge Art Philosophy for the banner and for the apples I used the Create A Critter cartridge. For the word SCHOOL I used my silhouette to cut out the letters.
These are what I made last year for the kids from the "Back To School Fairy." They were buses that you print out and put together. You can also edit them and add a special message along the sides. I got these at the Paper Glitter Shop as well.

For their lunches, I try to make them cute and fun by labeling their food with cute little stickers or sayings and I add a special note to them. Click HERE for some fun lunch ideas!
When they come home from school, I give them an after school snack. Usually it's something healthy but on this day I give them a special treat. Most of the time it's cookies or cupcakes. Click HERE for snack ideas.
And for dinner they get to choose. Usually it's been fun pasta or pizza. Click HERE for some dinner ideas.
I wanted to share some of the things I made and add some of the tutorials I found to give you some ideas of what you could do :)
I found another backpack tutorial that I tried and I liked but It was just a little too small for what I wanted to do with it. But here is the link to that free tutorial. It's at Sarah's Ink Spot Blog.
I was on the Lauren McKinsey website and she had an adorable back to school collection that I just had to get. I love her work and I just had to purchase some of her back to school printables. My kids will be starting preschool, third grade, and fifth grade this year so her collection worked out great for me!
These are the large circles that I printed form the Fifth Grade Collection. I just cut them out and put them on a Tim Holtz ball chain. I did that for each backpack.
This is another Lauren McKinsey printable. These ones I made for my niece and nephews.
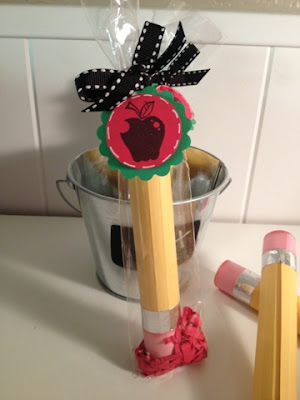
These are pencils that I tied together with a ribbon and added a Lauren McKinsey editable printout. I got the pencils for the dollar bins at Target.
These candy Rolo pencils were so fun and easy to put together. I found a great tutorial on youtube that I followed. The ones I packaged are for the teachers. I still need to package one more :)
Here is the video from Scrappin With My Bug:
This is a banner that I made to hang in the dining room. I made this using the CTMH cricut cartridge Art Philosophy for the banner and for the apples I used the Create A Critter cartridge. For the word SCHOOL I used my silhouette to cut out the letters.
I made this last year to put on the table so I thought I'd use it again. I found this vase and wood holder at Safeway a few years ago in the floral section. So I painted it and decorated it with some printouts that I purchased from the Paper Glitter Shop.
These are what I made last year for the kids from the "Back To School Fairy." They were buses that you print out and put together. You can also edit them and add a special message along the sides. I got these at the Paper Glitter Shop as well.
These tags are from the Lauren McKinsey website. I made them for the kids backpacks and lunch bags. I laminated them with name badge tags I got from Walmart.
These lunch box notes are also from Lauren McKinsey. I'm going to laminate them that way they'll last longer. They're avalible for girls, boys, and teens!
These are the place mats I made using the Krylon Chalkboard spray and a place mat from the dollar store.
I made utensil holders using half of an 8.5 x 11 sheet of paper and taping the sides together with double sided sticky tape to create a pocket.
These are last years first day of school pictures of the kids. The grade signs are a free printable I found on a website. Click HERE for the website.

Subscribe to:
Posts (Atom)

